Wednesday, March 22, 2017

Spray Painting Our Yanmar Engine

As some of you may already know, we hauled out our Yanmar 50Hp diesel engine in November 2016 to be serviced, cleaned and repainted. Oh my! It's a big B-I-G project! 

If you're thinking of doing the same, do check out our other posts related to this project or drop us a comment. We are by no means an expert on this, but now that we've done it, we'd be happy to share our thoughts and experiences if you have any specific questions or if you have some experiences of your own, we'd love to hear it.

Just be aware that it's a tedious and time consuming process (like everything else on a boat). It took us several weeks to get the engine parts ready for painting. 

Engine parts all ready to be spray painted

Check out our setup for Selwyn, the contractor we hired to spray paint the engine parts. We thought it was a smart idea to dangle the parts on the stands. But with only 2 stands, Alex and I had a good workout running back and forth ferrying the parts that day.

Selwyn spray painting and Alex putting on the next item to be spray painted
Once the parts were painted, we'd bring them back and hang them under the boat to dry
The next day, Alex and I decided to change the setup so that we could hang more than two items at a time. 2 A-frames, 2 pieces of long wood and a bunch of nails later...

Our new & improved setup
Voila! Much more efficient and a lot less running. We still had to walk the same amount carrying the parts back & forth, but it was a lot less hectic for us and a lot less waiting time for Selwyn.

"O" so beautiful
The spare fishing lines came in handy
Painted engine parts hanging like Christmas ornaments
Once all the parts were painted, Alex worked on the main engine block and ended up spray painting it himself.

Alex preparing the main engine block to be painted
All done! Not bad for a first timer hey
The time it took for us to complete the painting job? About 10 days (partly delayed due to weather). That excludes the many weeks of prep work i.e. cleaning off the old paint, taping off parts we did not want painted, stuffing screw holes with cloth, tying on fishing lines, etc, etc.

If you're interested to know what we used? Well, we applied 3 coats of Sea Hawk Tuff Stuff Premium Blister Protection High Build Epoxy Primer and 2 coats of OMNI M103 Top Coat Paint.


Sea Hawk Tuff Stuff Set ($2,457 TTD)
OMNI ($152.55 TTD)

Read More »

Monday, March 6, 2017

Boat Works in Trinidad

19th March 2017 is fast approaching and we've still got a long way to go before we're ready to launch. It looks like we will have to make another visa run, our 2nd visa extension application!

A little worried as we've already been here for the last 6 months and we've heard from several cruisers that it's not easy to get a 2nd visa extension. Our appointment at the Port of Spain Immigration office will be at 8am on 14th March. Fingers crossed, let's see how it goes.

In the mean time, the boat works continue. Here's what we have completed thus far..

* Updated 14th March: 2nd visa extension approved for 3 more months! We were told by our kind immigration officer (who was in a good mood), that we will HAVE to complete our jobs in the next 3 months or apply for permanent residence! :)


Jobs Completed:

Installed and aligned rudders
Serviced winches in cockpit
Serviced hydraulic for sail drive leg
Installed AIS Transceiver
Removed rotted wood in saloon
Installed fan in saloon
Installed new batteries for engine and anchor windlass
Modified battery rack and added belt to secure batteries in battery compartment
Replaced corroded wiring in battery compartment
Removed deck fittings and re-sealed holes with epoxy
Made backing plates for deck fittings
Replaced switch for wash down pump
Replaced switch for anchor windlass
Replaced corroded wiring for anchor windlass
Cleaned and serviced anchor windlass motor
Re-painted and fixed broken anchor windlass cover
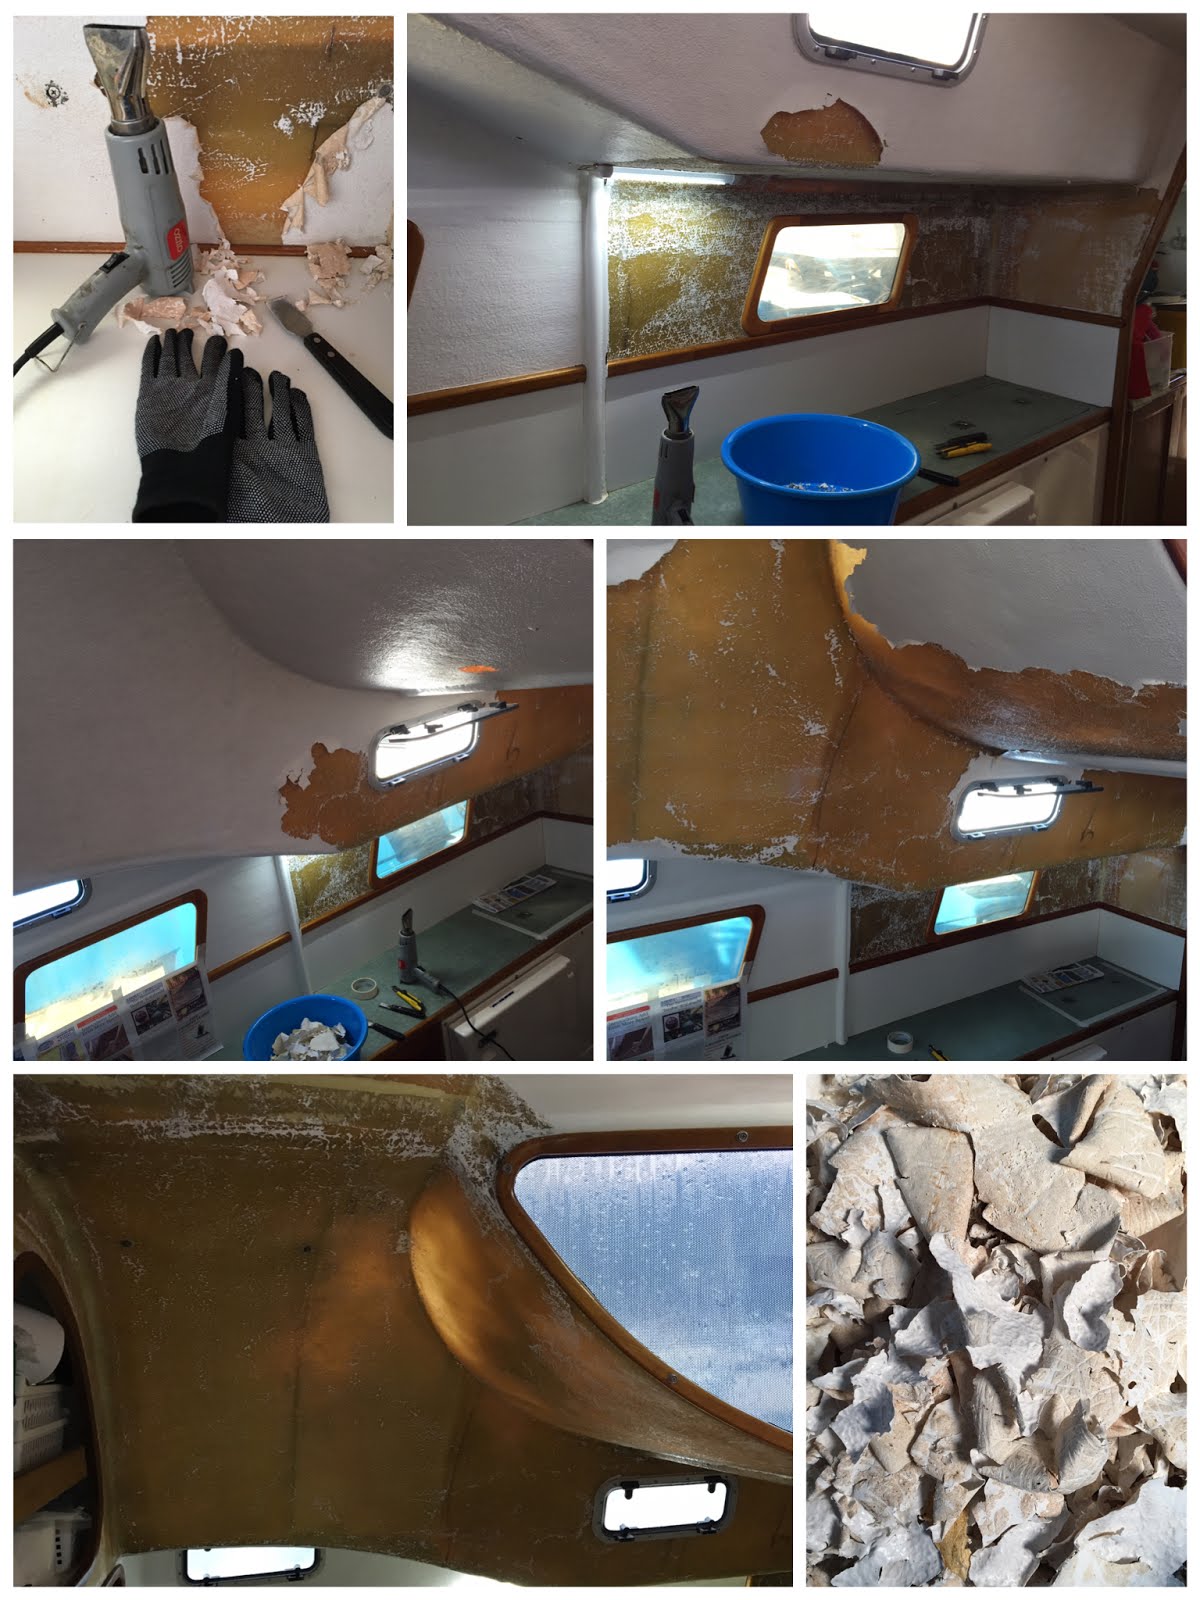
Removed old paint from the galley, head, port side forward cabin
Re-sealed and re-painted rubbing board on port side
Took apart and cleaned engine (Yanmar)
Took apart and cleaned dive compressor (Bauer)
Cleaned anchor chain
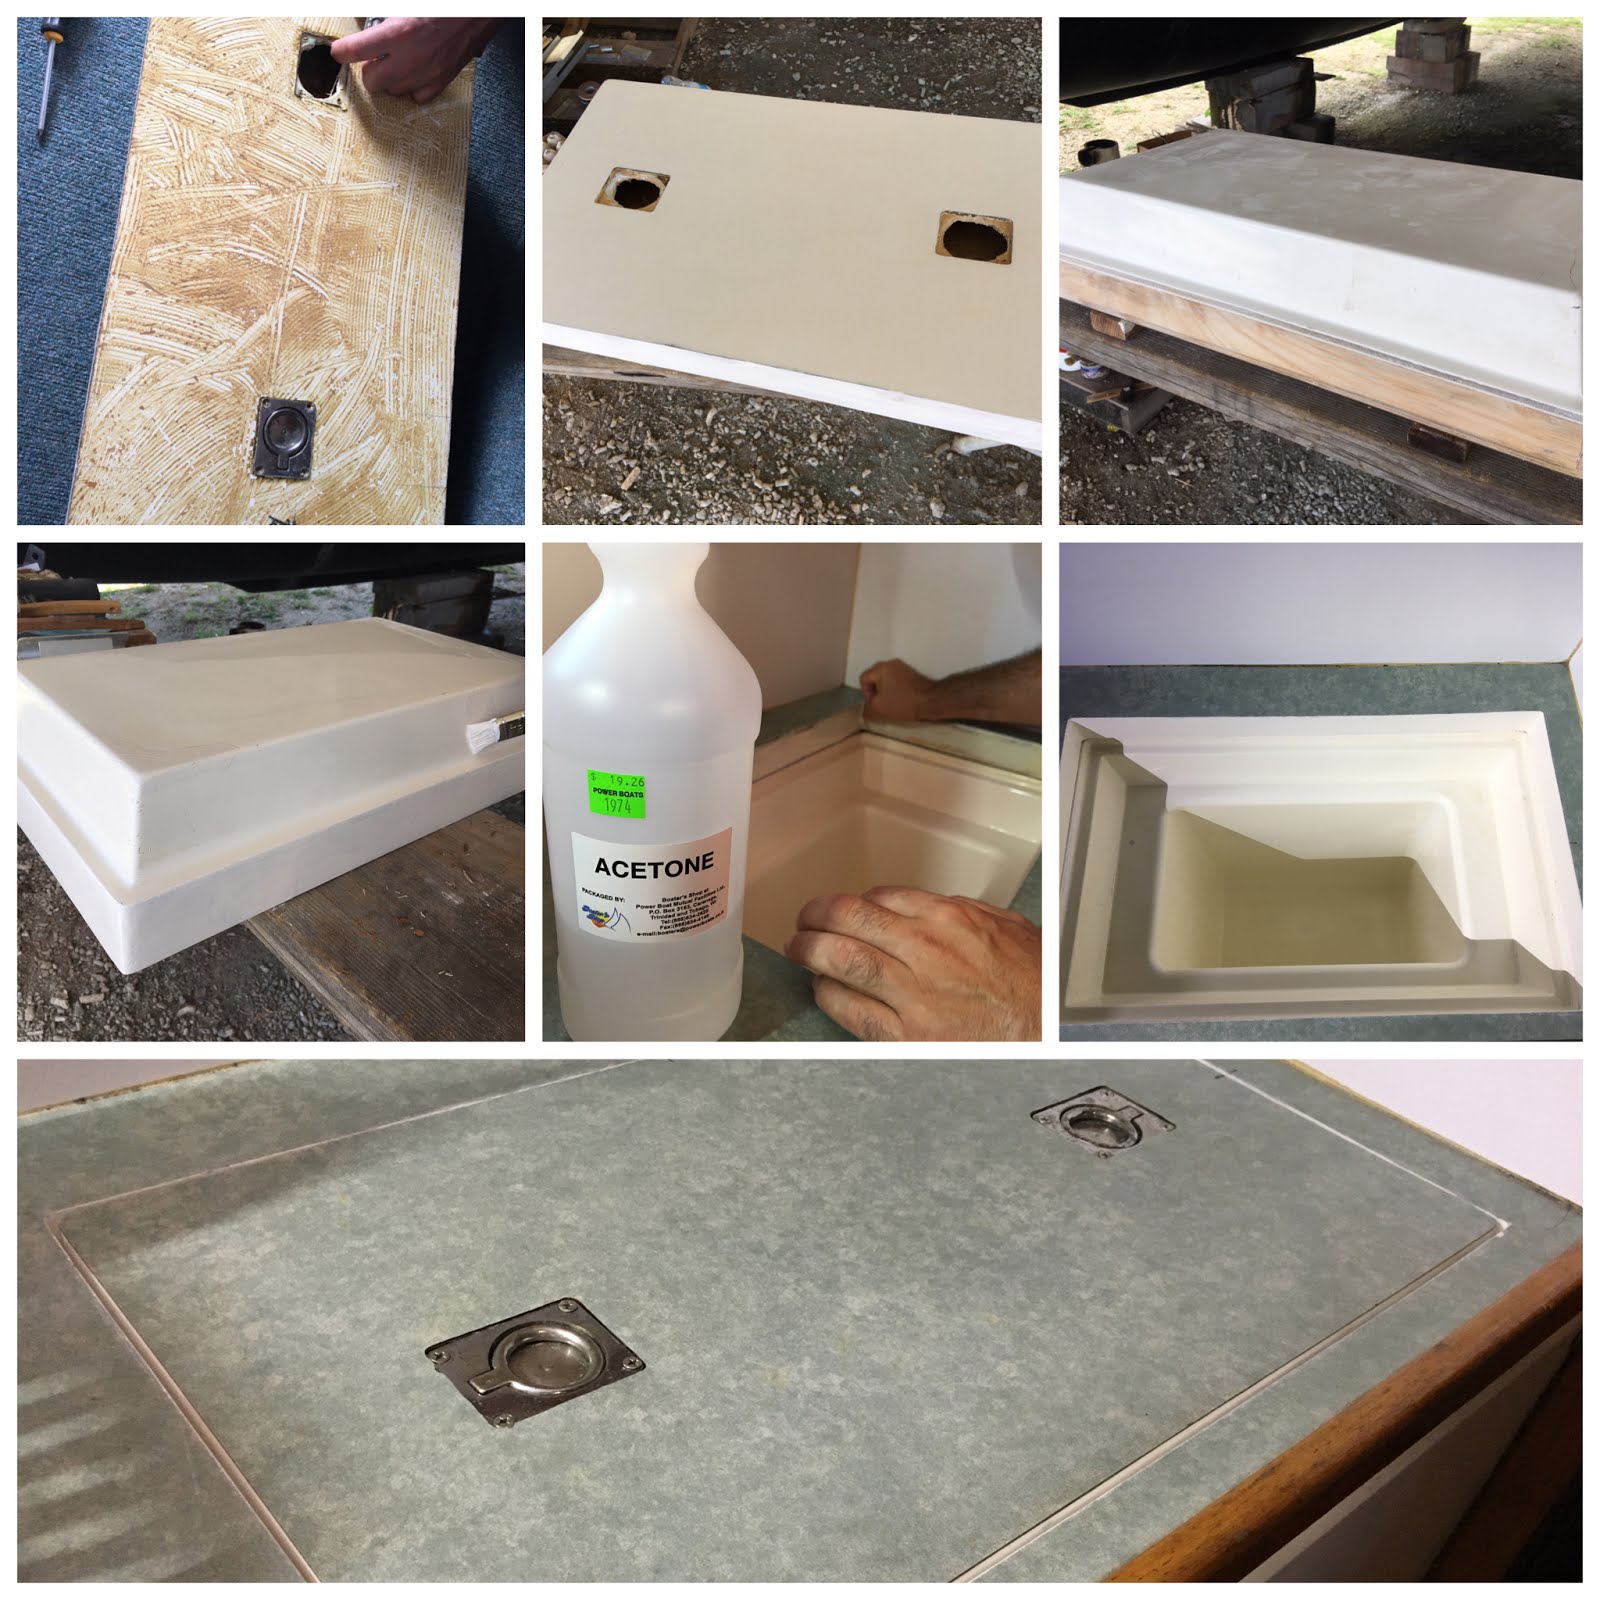
Sanded and re-painted freezer door
Replaced thermostat on water heater
Installed a mosquito netting in the cabin


Jobs In Progress/Not Started:

Replace engine for dive compressor (Bauer)
Re-paint dive compressor
Re-paint and assemble engine (Yanmar)
Install new engine mounts
Replace all clam shells under the boat
Re-bed deck fittings
Install backing plates for the deck fittings (i.e. cleats, winches)
Apply boiled linseed oil on anchor chain
Paint the galley, head, port side forward cabin
Mend crack in starboard side forward cabin
Service outboard engine (Yamaha)

Was planning to give a little more detail to the work completed, but for now, perhaps some photos would suffice.
 
Installed and aligned rudders
Serviced winches in cock pit
Made new fibreglass exhaust tube
Replaced faulty thermostat in water heater
Sanded and re-painted freezer door
Removed deck fittings, dug out rotted core and re-sealed holes with epoxy to prevent future water leakage into our deck core
Removed old paint from Galley
Removed engine for servicing and repainting

Do boat projects ever end?

Boat Works in Trinidad II

Read More »

Friday, March 3, 2017

Hauling Out Our Engine

Ugh.. our Yanmar 50 Hp engine; the bane of our lives. The constant problem throughout our journey for as long as I can remember. 

If it's not the cracked sail drive leg, then it's the disintegrated damper plate, or the rusted mounts or the misaligned alternator belt, even the sail drive leg cover's a problem. It never ends.

I know we have a lot of other issues on-board the boat that cause us to stay at a place for longer than we would like, but the engine (or some part related to it) really takes the cake.

Last November, Alex decided to haul it out to be stripped, cleaned, serviced and repainted.

Hauling out the engine
We sent the engine away to our mechanic here in Trinidad to be disassembled, cleaned and serviced. But as you may already know, things never go as planned or as quickly as we would like. By December, productivity slowed down tremendously as everyone was in a festive mood for the holidays. 

In the end, the engine was partly disassembled by our mechanic and rest was back on us and by "us" I mean it was mostly Alex. In the end it always boils down to the same thing ... if you want to get things done (or done properly), you have to do them yourself.

It took a while before we got the main block engine and its parts back. To be fair, we were waiting on someone else to get back to us on painting the engine, but unfortunately that plan fell through. 

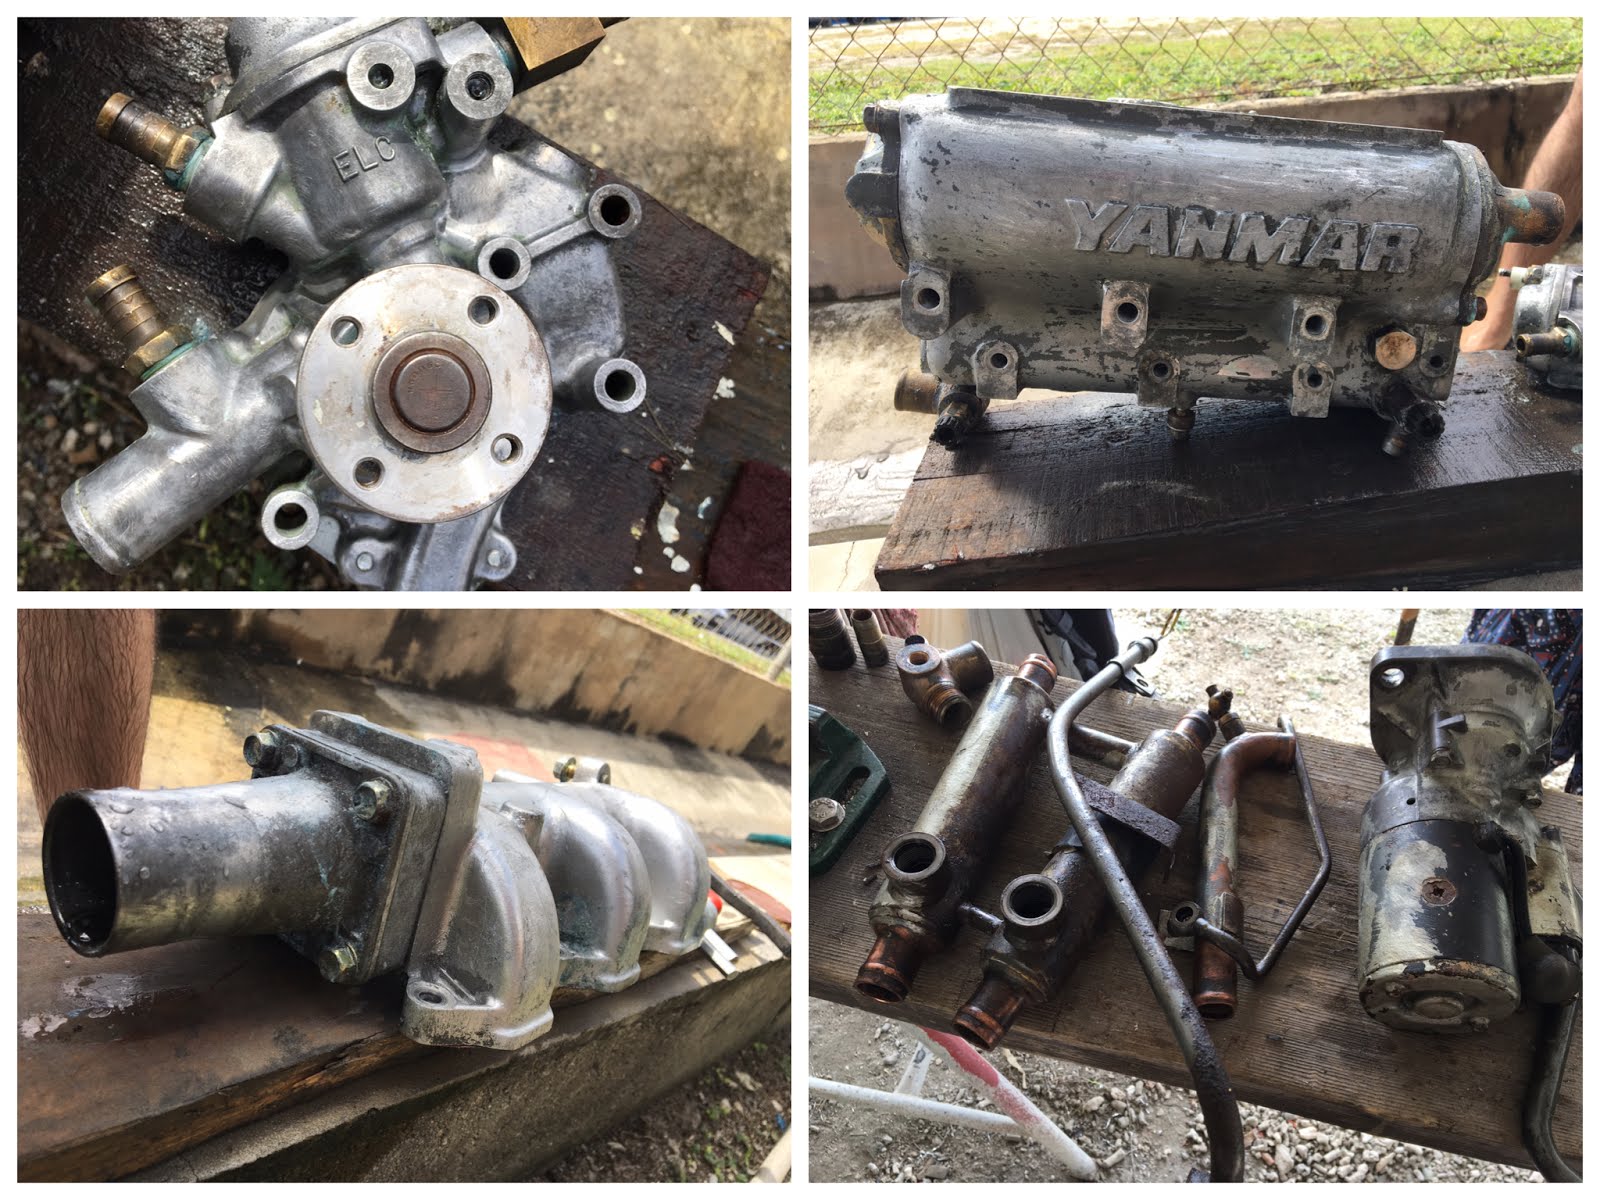
So when we finally got our engine back, we dismantled & cleaned each part so that it could be re-painted (except the fuel injection pump which we sent away to be serviced professionally). That meant de-greasing, stripping off old paint, sanding, treating the metal and prepping the parts to be painted.

 
HS Purple Blaster $63 TTD, Lanco Gel Strip $74.73 TTD, Bonderite C-IC 33 $121.10 TTD, Bonderite M-CR 1201 $157.47 TTD


Here's what we did to clean the engine parts:

1 - First we de-greased the engine parts with the Purple Blaster, a de-greaser (apparently the most powerful on the market; formulated to clean and de-grease tough stains, oil, grease, dirt, etc; perfect for engines!). It worked incredibly well. We just brushed it on to allow it to dissolve the dirt/grease and rinsed it off with water (its seems to do the same thing with your skin though ... dissolve it).

2 - Next, we applied a thick coat of Lanco Gel Strip on the engine parts with a brush. The gel strip is a powerful, non-running type gel stripper formulated to remove coatings from metal, wood, concrete and other surfaces (but not suitable for plastic). The gel is so strong it burns your skin within seconds of contact. We really should've worn gloves for the job. But don't worry, it washes off quickly with water.

3 - The gel is left on for about 20 minutes to allow it to penetrate into the old paint.


4 - When the gel stripper skins over and appears dry, we used a scraper and brush to remove the finish and washed it down with water to remove any remaining gel from the surface.

Photos of the engine parts
5 - For tough spots, we re-applied the gel and repeated the process.

6 - Once the parts were clean and dry, Alex used the drill with metal brushes to remove any residual paint or rust on the surface.

7 - After that, for Aluminum parts, we first treated them with Bonderite Aero Metal Preparation Chemical (C-IC 33) and then with Bonderite Aero Chromate Coating (M-CR 1201) to prep them for paint.  

What's that? The Bonderite C-IC 33 is a non-flammable phosphoric acid based cleaner, brightener and pre-paint conditioner for aluminum which produces a chemically clean and corrosion free aluminum surface. While the Bonderite M-CR 1201 is a non-flammable chromic acid based liquid used for corrosion protection and paint adhesion to aluminum surfaces.

8 - For Steel parts (which aren't painted), we coated them with Boeshield T-9 an anti-rust & corrosion spray that dries to a clean, waxy, waterproof film;  safe to use on paints, any metal surfaces, plastic, fiberglass and vinyl. It was developed by the Boeing Company for lubrication and protection of aircraft components but it's also said to be particularly effective in protecting all metals in salt water environments ... the jury is still out as to whether it actually works, but our money is on 'not so much'. (In general, most products we use tend to over-promise & truly under-deliver)

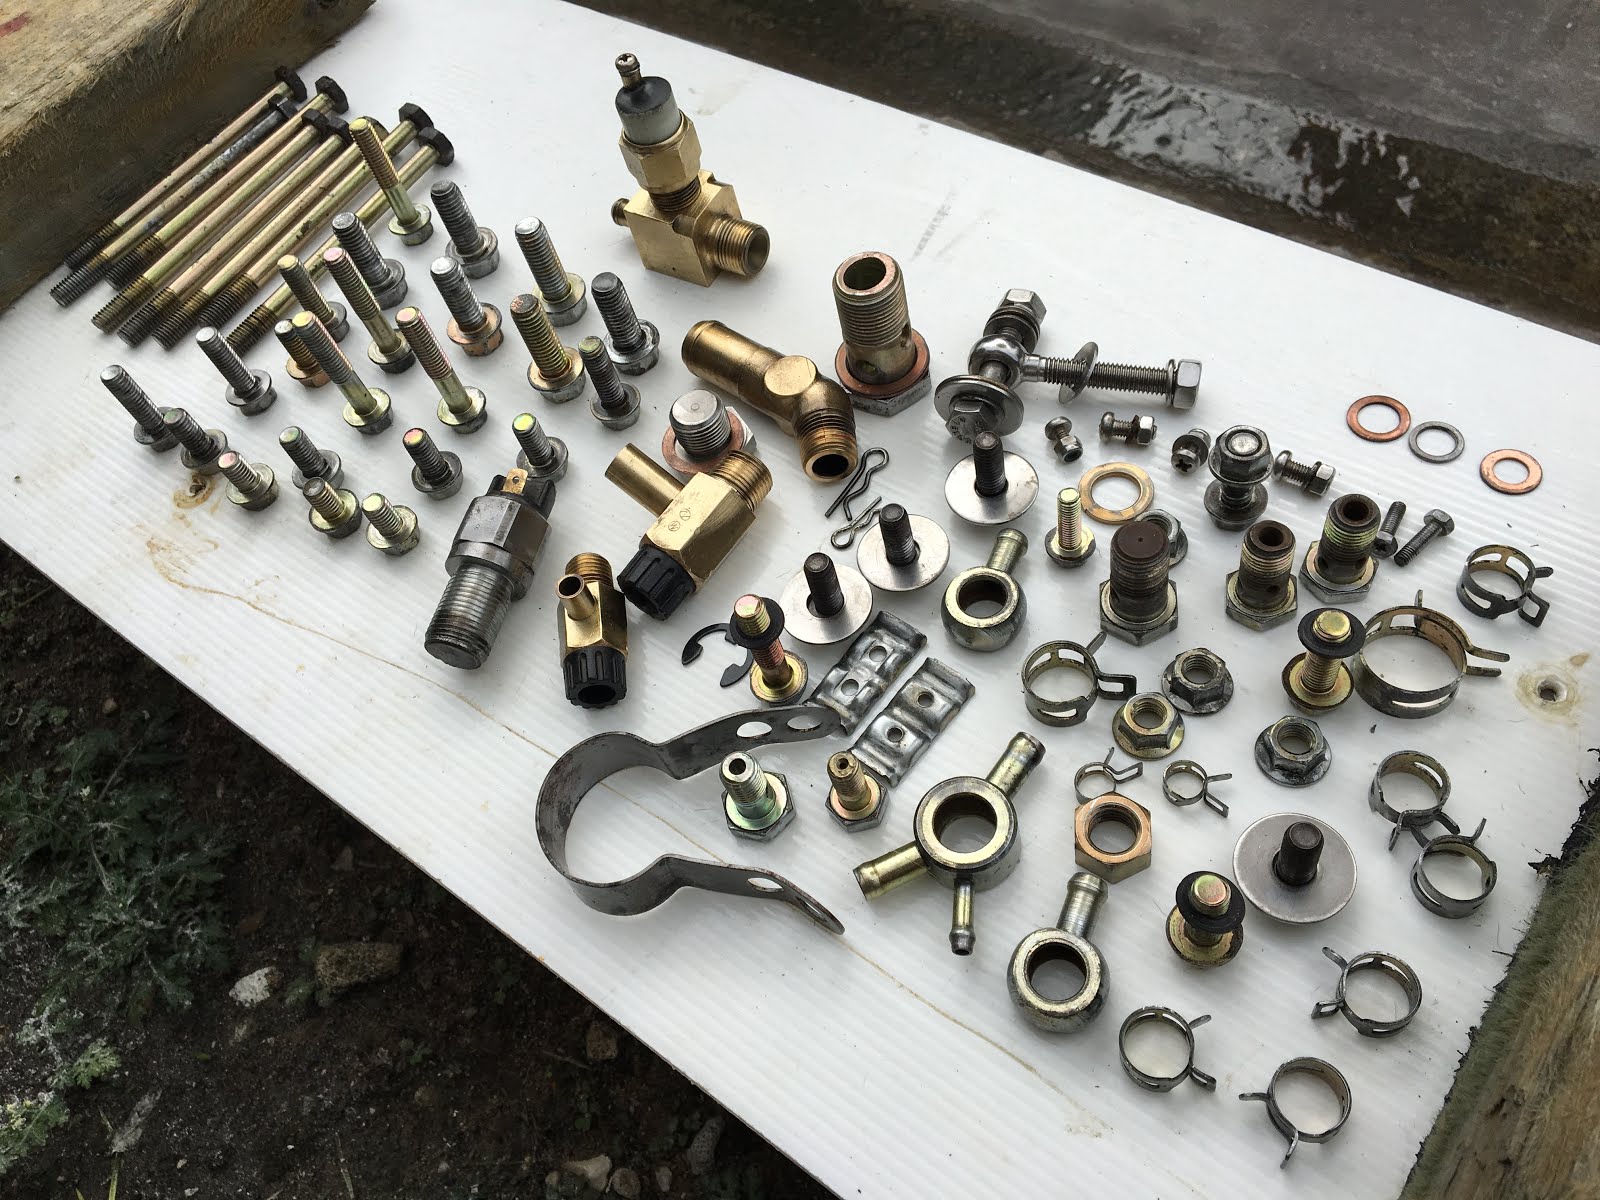
9 - This process was repeated for all the engine parts, including all washers, nuts and bolts. 

Some of the many nuts and bolts - cleaned
10 - Oh and we also coated all the washers, nuts and bolts with Boiled Linseed Oil.

Cleaned parts
The process to clean & prep all the parts took weeks to complete. It was also crucial to time the paint job as the metal tends to rust up again if it's left for too long (more than a day or so). We had a couple of delays due to weather and had to re-clean some of the parts again (with metal brushes to remove the rust). "Fun" times! :)


Next: Spray Painting Our Engine

Other related posts:

How To Clean A Heat Exchanger

Installing New Engine Mounts

Strip, Service & Repaint Our Yanmar Diesel Engine

Read More »

Tuesday, February 28, 2017

February 2017 | MONTH IN REVIEW


Here's a quick summary of what we were up to this month.

  • We installed new batteries; one in the battery compartment on the rack we modified last month, and the other in the anchor locker for the windlass.
  • We replaced the corroded wiring in the battery compartment.   
  • We replaced the switch for the anchor windlass, cleaned and serviced the windlass motor, repaired and re-painted the windlass cover. 
  • We repaired and re-painted the rubbing board on the port side.
  • We replaced all the clam shells on the underside of the boat.
  • We limed and wined at the Carnival in Port of Spain. A wonderful day with our friends Daniela and Rolf as we walked alongside the masqueraders in fancy glittery and feathery costumes singing and dancing to the tunes of "We jammin' still".
  • Counting down the days to our next visa expiry on 19th March, will we make it?

Check out our posts this month:

We're on Google Maps!

How To Get Rid of Unwanted Guests (Ants & Cockroaches)

Recipe | Bite Sized Chocolate Fridge Cake

Liming & Wining at the Carnival in Trinidad


January 2017 | MONTH IN REVIEW >>

March 2017 | MONTH IN REVIEW <<


Replacing clam shells under the boat
Replacing corroded wiring
Our new battery in place


Read More »

Liming & Wining at the Carnival in Trinidad

2 years ago, we made it to the Carnival in Tobago. This year, we made it to the one in Trinidad! 

Glad that we had our friends Daniela and Rolf with us this time around. We caught the local maxi taxi (6 TTD/person) in the early morning of Tuesday, 28th February 2017 (and by early we mean 9am) from Chaguaramas (opposite Power Boats) and arrived at the maxi taxi terminal in Port of Spain, in just half an hour! (Fantastic! We had smooth traffic!)

We walked along with the masqueraders who were dressed in glittery, feathery, colorful skimpy costumes followed closely by their Carnival band of deafening music trucks, drinks trucks and wee wee trucks. It's a HUGE street party! I didn't realise how loud the music was until we walked away from the crowd and I couldn't hear a thing! 

The rain came down on us in the afternoon, but the masqueraders marched on. No rain can dampened their high spirits! Dancing and singing to the tunes of the hit song "Full Extreme" by MX Prime and Ultimate Rejects which was played over and over.  

𝄞𝅘𝅥𝅮𝅘𝅥𝅮{ “Recession, doh bother we/promote ah fete/an you go see/we go party/to the full extreme/an light it up with gasolene/oh lord, the city could bun down/we jammin still/the building could fall down/we jammin still/just hold them and wuk dem/no, we doh business/oye, no we doh business...”.}𝄞𝅘𝅥𝅮𝅘𝅥𝅮

Funny thing, when I first heard the song, I thought the lyrics were "we jumpin' still" or "we jam and steal" or maybe "steel" (for steelbands, which are popular here). Anyway.. 😄, I was kinda close though, thanks to google, the official lyrics are "we jammin still".

At times like this, I'm really grateful for the internet because I remember the days when I'd sing along to popular hit songs for years only to discover that the lyrics were completely different to what I had thought.
 
At Queen Savannah Park

𝄞𝅘𝅥𝅮𝅘𝅥𝅮{ We jammin still }𝄞𝅘𝅥𝅮𝅘𝅥𝅮 It was an awesome day! A nice break from all the boat stuff and so happy we got to spend a lovely day with our dear friends from S/Y Yelo.

Read More »

Saturday, February 25, 2017

Recipe | Bite Sized Chocolate Fridge Cake

This is a no bake chocolate cake recipe inspired from Jamie Oliver's Chocolate Fridge Cake recipe. The first time I tried making this was in Singapore, suggested by a dear friend. Since then I've modified the recipe based on the ingredients we had on board and it works just as well.

Makes: around 36 pieces

Ingredients:
  • 200 g dark chocolate (70% cocoa solids)
  • 150 g unsalted butter
  • 1-2 tablespoons of honey
  • A pinch of salt
  • 150 g digestive biscuits, broken into small/fine pieces
  • 150 g mixed nuts, roughly chopped (i.e. cashew, almond, walnuts)
  • 2 tablespoons of dried cranberries
  • 2 tablespoons of pumpkin seeds, sunflower seeds (optional)
  • 2 tablespoons of granola with dried fruits (optional)

Method:
  1. In a large bowl, mix the digestive biscuits, nuts, seeds, cranberries and granola.
  2. In a heatproof bowl, melt the chocolate, butter, honey and a pinch of salt either over a pot of simmering water, or in a microwave. Stir occasionally until smooth.
  3. Mix both the contents together.
  4. Spoon the mixed contents into a mould. I used plastic egg cartons.
  5. Close the cover and put into fridge to firm up.
  6. Once it's firm, you can turn over the mould and pop the pieces out.
  7. Store in fridge in an airtight container. The flavour improves after a few days.
Note: If you prefer it as a whole cake, instead of bite sized pieces. Use a 8x4 bread/loaf pan. Line the pan with clingfilm to help you turn it over once it's firm. Leave extra film at the edges so you can fold over the top. Follow steps 4 through 7. If you're allergic to nuts then simply leave them out of the recipe.


200g of Dark Chocolate 
This is not the best dark chocolate but we make do with what we have and it turned out well
Melt Butter and Chocolate, Add Honey & a pinch of Salt
Digestive biscuits, Mixed nuts, Cranberries, Granola
Melted chocolate with butter, honey and pinch of salt
Mix contents together
Like so..
Spoon the mixture into the mould, close the lid and put in fridge to firm
That's it!

Really like this recipe because it doesn't require any baking! Hope you'll like it too.


Read More »

Friday, February 17, 2017

How To Get Rid of Unwanted Guests (Ants & Cockroaches)

Several years ago and somewhere in the Indian Ocean, we discovered we had an ant and cockroach infestation. They probably snuck on board via our groceries. Unfortunately once they're on board, it's not easy to get rid of them. All the expensive store bought ant/cockroach sprays and baits did not work for us.

By the time we got to South Africa, the infestation was out of control. I believe there were maybe a gazillion (hah, okay not quite a gazillion but definitely hundreds) of tiny baby roaches running around having a ball under the floorboards in the galley and we had no idea how to get rid of them. Whenever we saw one, we'd squash them, spray them, but they breed so much faster than we could kill them.

I remember one night (about 3 years ago) in South Africa on S/Y Yelo, I was sharing with Daniela about our unwanted guests. She told me, her trick was to have a photo of cockroaches in the galley, which I thought was funny, but hey, she has it and it works!

So there I was thinking of ways to get myself a photo of cockroaches when Doris, another Swiss cruiser, a friend of Daniela's who was listening to our conversation and said "Ah.. la cucaracha!".

She then advised me on how to get rid of them. She said "Buy some borax powder, mix with it sugar and water until it becomes a paste in a shallow tray. A thin layer will do and put it where the la cucaracha's are. Borax powder for la cucaracha's and Boric Acid powder for ants".

So the next time I went to the Pharmacy, I bought a box of Borax and Boric a.k.a Boracic Acid powder just as advised. It costs a fraction of what we'd pay for the commercialized ant/cockroach sprays and baits. 


You only need a small quantity each time so it lasts a long time, it's light, it doesn't expire, it's not in some spray can that will eventually rust, basically it's great for boats (and houses too!).

Homemade stuff is always the best. I followed her instructions, but added both the powders into one tray because we had both infestations (an attempt to kill two birds with one stone; or in this case 2 pests with one bait).


Within days there were less and less ants and one day, it all disappeared. As for the roaches, it took a little longer (several weeks) but unlike the ants that magically disappeared, I had to clear the dead roaches regularly till all were gone but it works!

Recently we had another bout of ants here in Trinidad. Fortunately, we got rid of them in 2 days! So grateful for the advice. See formula below.

 
Ingredients (approx.)

½ teaspoon of Borax powder and/or
½ teaspoon of Boric/Boracic Acid powder
1½ tablespoons of sugar
5-10 drops of room temperature water    

Method

Mix the ingredients in a shallow tray until the consistency is like a paste.
Add drops of water as required.
Leave the tray where the ants/cockroaches roam.

Note: Be sure not to put too much of the powder, because you don't want to kill them instantly. The aim is to get the ants to take the bait back to the colony to share thus killing the other ants & its queen. The same applies to the roaches (except of course.. there's no queen roach).


If this fails, get a photo of cockroaches and pin it up! ;)
Read More »

Saturday, February 4, 2017

We're on Google Maps!

We know we've been here too long when we're on Google Maps! Raptor has been here since 2nd March 2015. Her longest stay on the hard to date. 

The last time we hauled out was 5 years ago in Phuket, Thailand at Coconut Boatyard for merely 2 months.

Raptor on Google Maps

Boat projects, boat projects, when will you end? We can't wait to be back in the ocean again.
Read More »

Wednesday, February 1, 2017

My Sister's Hidden Talent

Okay, so this post is unrelated to sailing or travelling. It's a personal post for my dear sister to capture our memorable conversation over Whatsapp on the 5th day of Chinese New Year this year.
 
Feeling a little homesick, I sent her a photo of what I had made for lunch on the second day of Chinese New Year... "Nothing fancy, just plain noodles and stir fry veggies", I told her. 
 

"Ah.. Royal mix noodle with superior veggie and golden egg!", she replied. 😄

I immediately sent her a couple more photos of what I had made for dinner a few nights ago, and this is what she said..


"Double prosperity rooster with superior sauce and emerald greens!" she continued. 


"and this.. Empress ribs on 8 treasures!".

Isn't she the best? I swear this is her hidden talent - cheering me up and coming up with creative names for dishes! 😊 My feeling of self pity for missing out on all the good food back home somewhat dissipated after our conversation. She made me see that I had some pretty fancy dishes on board too! {haha}

Thank you my dear sister and Happy Chinese New Year to all! 😘💓

Read More »